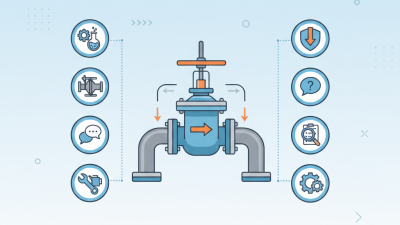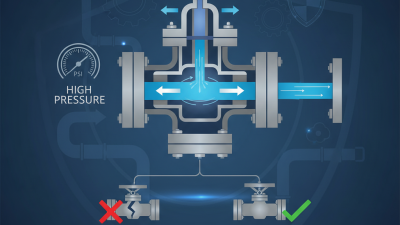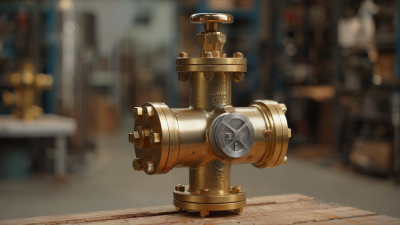
A high pressure valve can look robust on a bench and still fail the demands of a real process. The difference often comes down to details: maximum working pressure, temperature swings, fluid compatibility, connection type, and how often the valve must cycle. A mismatch may cause leakage, difficult operation, or premature wear. Small details matter.
Philip L. Skousen, author of Valve Handbook, offers a useful engineering perspective when his guidance is paraphrased this way: “Choose a valve for the actual service conditions, not pressure rating alone.” This is not a verbatim quotation. It reflects a practical point: a pressure rating cannot tell the whole story without the medium, temperature, flow, and installation conditions. A clear specification helps, though it may still leave questions unanswered.
These seven tips will help buyers and engineers compare options with greater care. They cover pressure and temperature limits, valve materials, design and actuation, end connections, certification needs, supplier support, and maintenance access. Picture a valve installed behind a pipe rack, where a handwheel is hard to reach and shutdowns are costly. Selection should account for that reality, not just a catalog table. Even experienced teams can overlook one constraint. Check the details twice. This guide offers a starting point for evaluating a high pressure valve, while reminding readers to confirm final choices against the manufacturer’s technical data and the specific operating conditions.
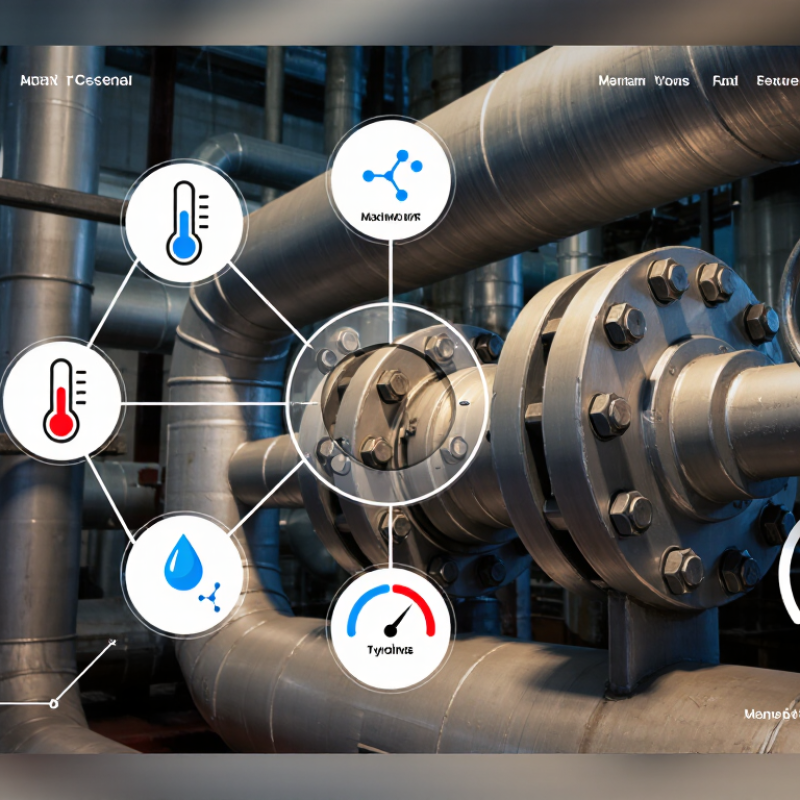
Before comparing valve materials or trim, define the actual operating envelope. Record normal, minimum, and maximum pressure, including start-up surges and pressure trapped during shutdown. State whether readings are gauge or absolute. Include fluid temperature, phase, and composition; hot steam and cold gas can impose very different demands. ASME B16.34 assigns pressure-temperature ratings by valve class and material, so a class number alone does not confirm suitability at every temperature. Small details matter. A pressure log from the process line is more useful than a single nameplate reading.
Also specify required flow, allowable pressure drop, and how often the valve cycles. A valve sized only for peak flow may operate poorly during normal demand. For compressed-air service, the U.S. Department of Energy’s Improving Compressed Air System Performance sourcebook estimates that each 2 psi increase in discharge pressure can raise energy use by about 1%. That makes unnecessary pressure loss worth checking. Consider a pump starting against a partly closed valve: the brief pressure spike may exceed steady-state readings. It is easy to overlook. Verify the design conditions against applicable codes and the valve’s documented pressure-temperature limits, then review any uncertain assumptions with a qualified process engineer.
A high-pressure valve should match what the system needs it to do. Is it mainly stopping flow, adjusting it, or preventing reverse flow? An isolation valve is designed to open or close, while a control valve can regulate flow across a range of positions. A check valve responds to flow direction. The distinction matters.
Tip: For throttling, check the valve’s control range and pressure-drop limits. A valve that is only partly open may cause vibration, noise, or rapid wear if the application is unsuitable. For isolation, confirm the valve is rated for the system’s pressure and fluid, and avoid relying on it for precise adjustment. Small details count. Note the fluid temperature, expected flow, and how often the valve will operate.
Sizing deserves a second look. Pipe diameter alone does not determine the right valve; flow rate and pressure conditions also matter. A sizing calculation can help, but its inputs need checking against actual operating conditions. If flow varies widely, a valve selected for one steady-state estimate may perform poorly at low demand. Review the duty with a qualified engineer, especially when pressure changes or fluid properties are uncertain. No selection is perfect on paper; field conditions may reveal assumptions worth revisiting.
Tip 1: Match the valve body and trim to the actual fluid, pressure, and temperature. Stainless steel may suit many clean-water systems, but corrosive chemicals can require a different alloy. Check compatibility charts and the system’s operating limits. Small details matter.
Tip 2: Consider the whole fluid path, not just the body. A seat or stem can wear faster than expected when particles, heat, or frequent cycling are present. I’d be cautious about choosing by material name alone; that shortcut can miss the component most exposed to damage. Verify the valve’s documented ratings for your conditions.
Tip 3: Confirm connection type, size, pressure class, and sealing method before ordering. Threaded, flanged, and welded ends are not interchangeable without careful design checks. Measure the pipe and inspect the mating surfaces. A flange that looks close may still misalign or leak under pressure. Check fit.
Tip 4: Account for installation and maintenance access. Leave room for tools, actuator movement, and eventual seal replacement. Connections also need to suit the pipe material and expected vibration. It’s easy to overlook access on a drawing. A quick site check can catch that mistake.
A high-pressure valve can look robust and still be unsuitable for the job. Check its maximum allowable working pressure at the operating temperature, not just the number stamped on the body. Materials can lose pressure capacity as temperatures rise. Include startup surges and pressure spikes in your assessment; normal line pressure tells only part of the story. Small details matter.
Confirm that the pressure-temperature ratings and test records follow standards applicable to your system. Check that the body, trim, and seals suit the fluid and its temperature. A rating established for clean water may not predict performance with hot oil or abrasive slurry. Also ask whether a quoted figure is a working-pressure rating or a test pressure. They are not interchangeable. Review the documentation rather than relying on a brief product listing.
Performance data should include flow coefficient, leakage limits, pressure drop, and operating torque at the expected differential pressure. A valve may meet its pressure rating yet restrict flow or require more actuator force than anticipated. Compare the data with your actual flow rate and operating conditions. Leave a practical margin for variation, but don’t treat extra capacity as a substitute for correct sizing. Field conditions are rarely perfect. Check how the valve will be installed, inspected, and maintained before making the final choice.
A high-pressure valve is only as dependable as its installation. Check the line’s pressure and temperature against the valve’s documented limits; ASME B16.34 provides pressure-temperature ratings by class and material. Confirm flow direction, actuator clearance, and support for heavy piping before the crew lifts the valve into place. Leave room to reach bolting, drains, and vents. Small details matter.
Plan maintenance before commissioning. A valve boxed in behind insulation may pass inspection yet be difficult to service safely. Specify isolation points, accessible test connections, and replacement seals or trim. API Standard 598 sets shell-test requirements, generally using 1.5 times the applicable pressure rating; confirm the exact test value for the valve and edition specified. A test certificate is useful, but it does not replace checks for alignment, leakage, and operating torque after installation.
Supplier support deserves the same scrutiny as pressure class. Request material traceability, inspection records, clear lead times, and a named technical contact for startup questions. Ask how quickly critical spares can ship, and whether repair guidance covers the actual service conditions. A spreadsheet can still miss a practical issue: the wrong gasket may arrive with the right valve. Verify interfaces and spare-part codes before purchase orders are released.